How to Set Up Firebase Cloud Messaging with iOS in 5 Steps
How does cloud messaging work on Firebase ?
The app request APNs for a device token. Then it sends that device
token to FCM (Firebase Cloud Messaging) and in return receives FCM
device token. Now this token can be send to your server/cloud
function which is keeping track of all these unique device tokens
which will be used to send notification. So when your server or
cloud function wants to send notification to specific target, it
will use those FCM device tokens which uniquely identifies the
device. The FCM checks its mapping between APNS Device token and FCM
token and figures out device token. It sends the notification info
along with device token to APNS which delivers the notification to
the user.
Here are the steps:
1. Set up basic project with firebase by following instructions here
Add Firebase to Your Project
2. Set up push notification on Apple developer portal
Push notification can be set up in two ways
- APNs Certificates — This is the old way of doing it. I am not going to talk about it.
- APNs Authentication Key — Sending push notification has gotten way easier with apple’s new way of setting by creating one key, which can be used by any of your apps.
So let’s gets started. Login to your Apple developer portal and select Certificates, Identifiers & Profiles, then find Keys on the left hand pane. In the upper-left corner, click on the + button to create a new key.
Give the key a name, such as Test Notification Key. Under Key select Apple Push Notifications service (APNs).


After creating the key, download the file, it will be named something like this AuthKey_3N9MXTE249.p8. Keep it in safe place as you wont be be to download this file again. Good practice would be to check in your code repo.
3. Firebase console set up
Go to project setting and click on Cloud Messaging


Click on the upload button in section APNs Authentication Key

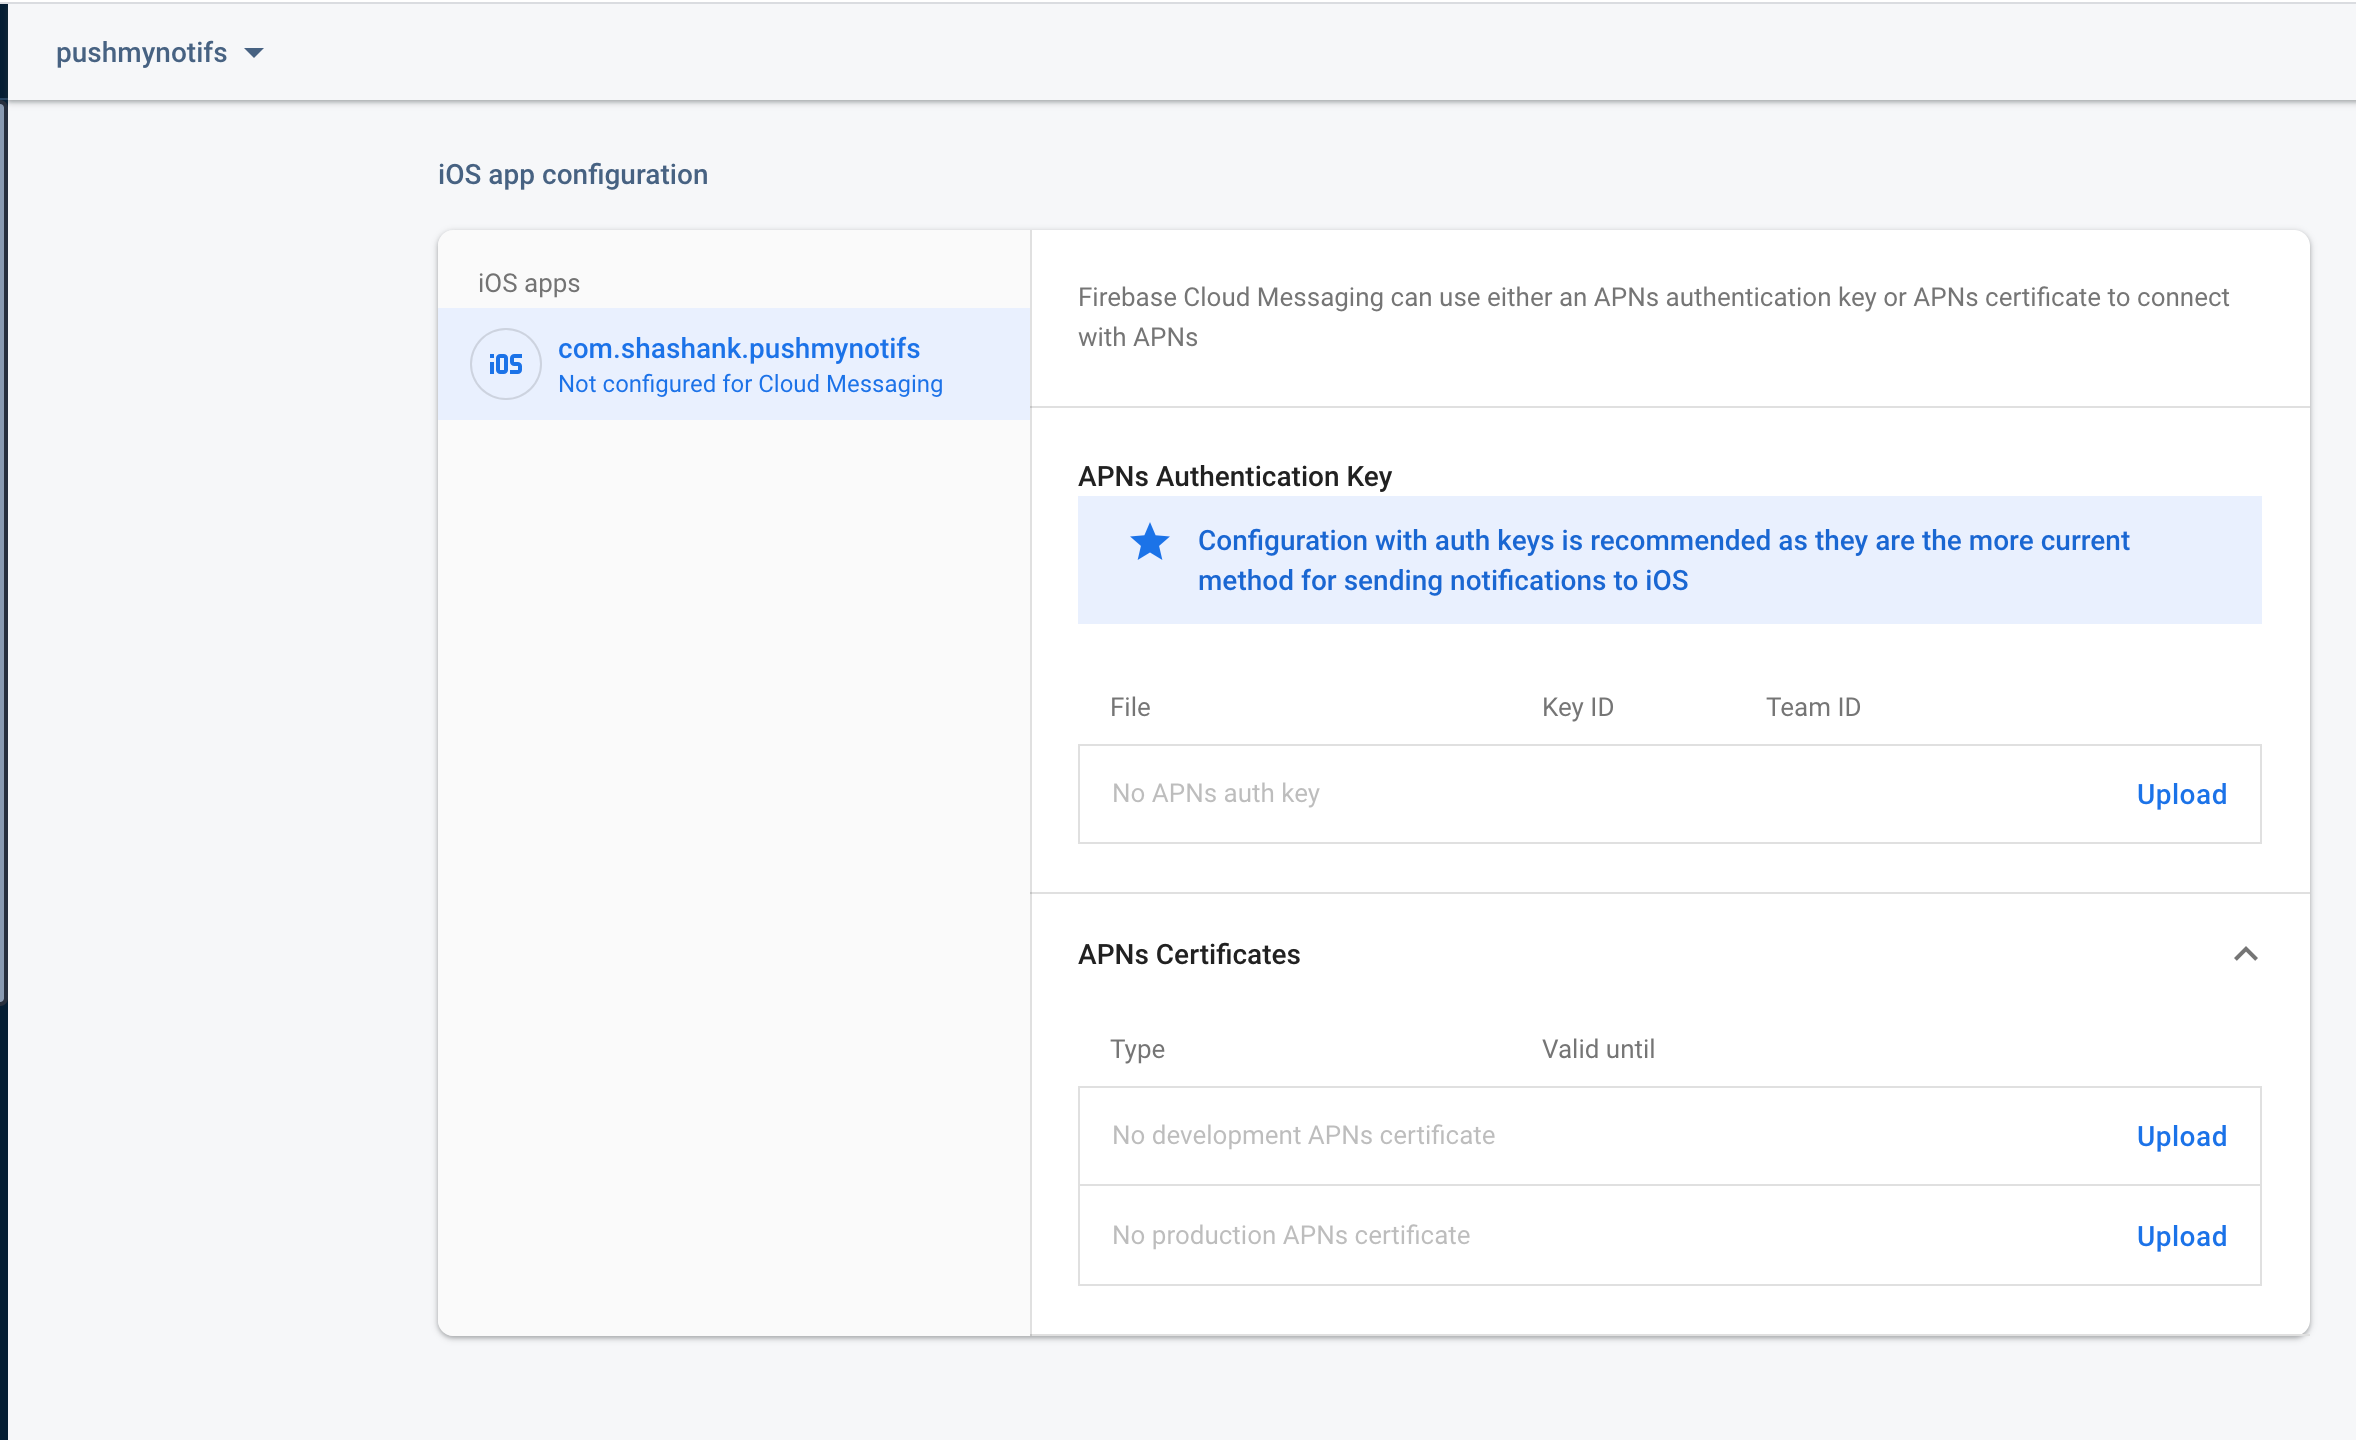
This will bring you a window to upload the file

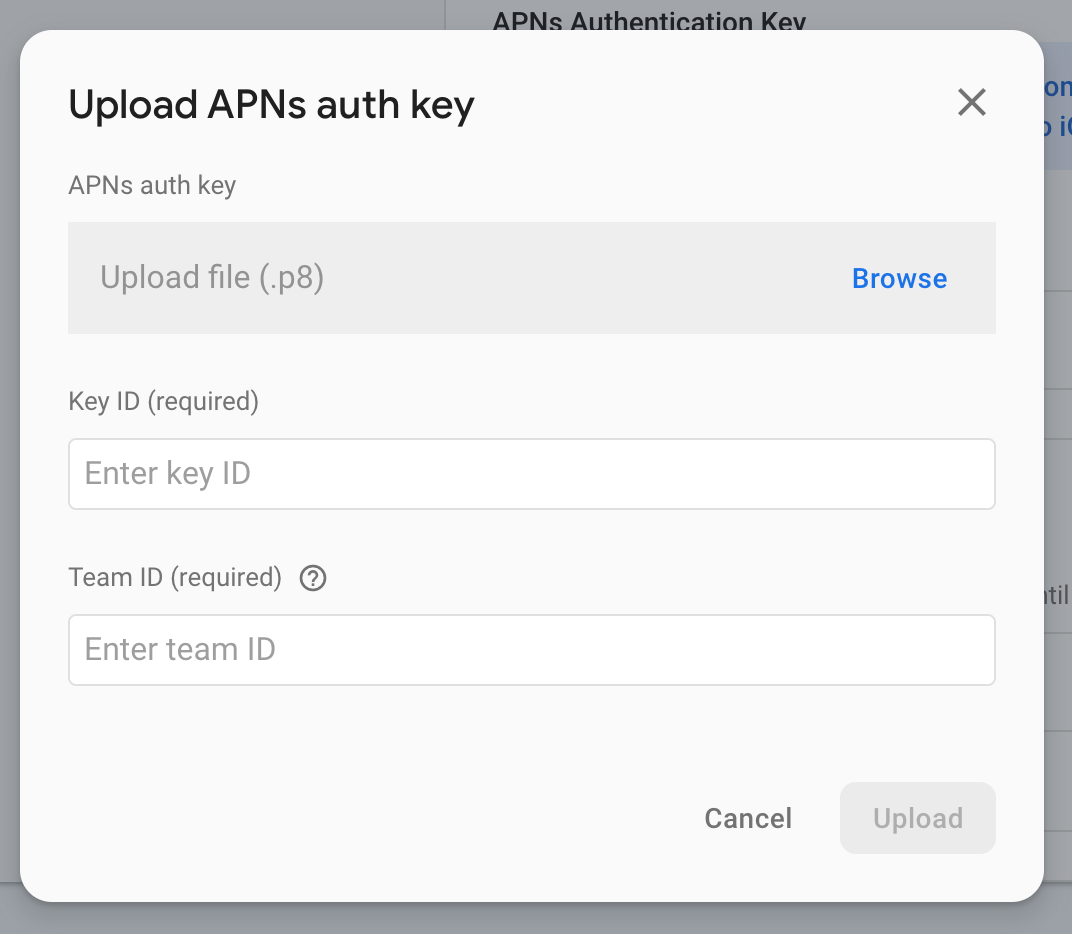
Browse to location where you downloaded the authentication file. The 3N9MXTE249 part of the file name is the Key ID. Team ID can be found on Membership Details page.
4. Configuring the app for notification
- Enable the push notification in app capabilities
- Update you project pod file to include cloud messaging support like this
pod ‘Firebase/Messaging’
- Run pod install on app/project directory on terminal
- Asking for user notification permissions — Open your app delegate file and under application(_ application: UIApplication, didFinishLaunchingWithOptions launchOptions: [UIApplication.LaunchOptionsKey: Any]?) -> Bool method add the code show below.
- Access FCM token — Right after FirebaseApp.configure() in your code access the FCM token like this
Token fetched above can be reported to your server/service that will initiate push notification via FCM.
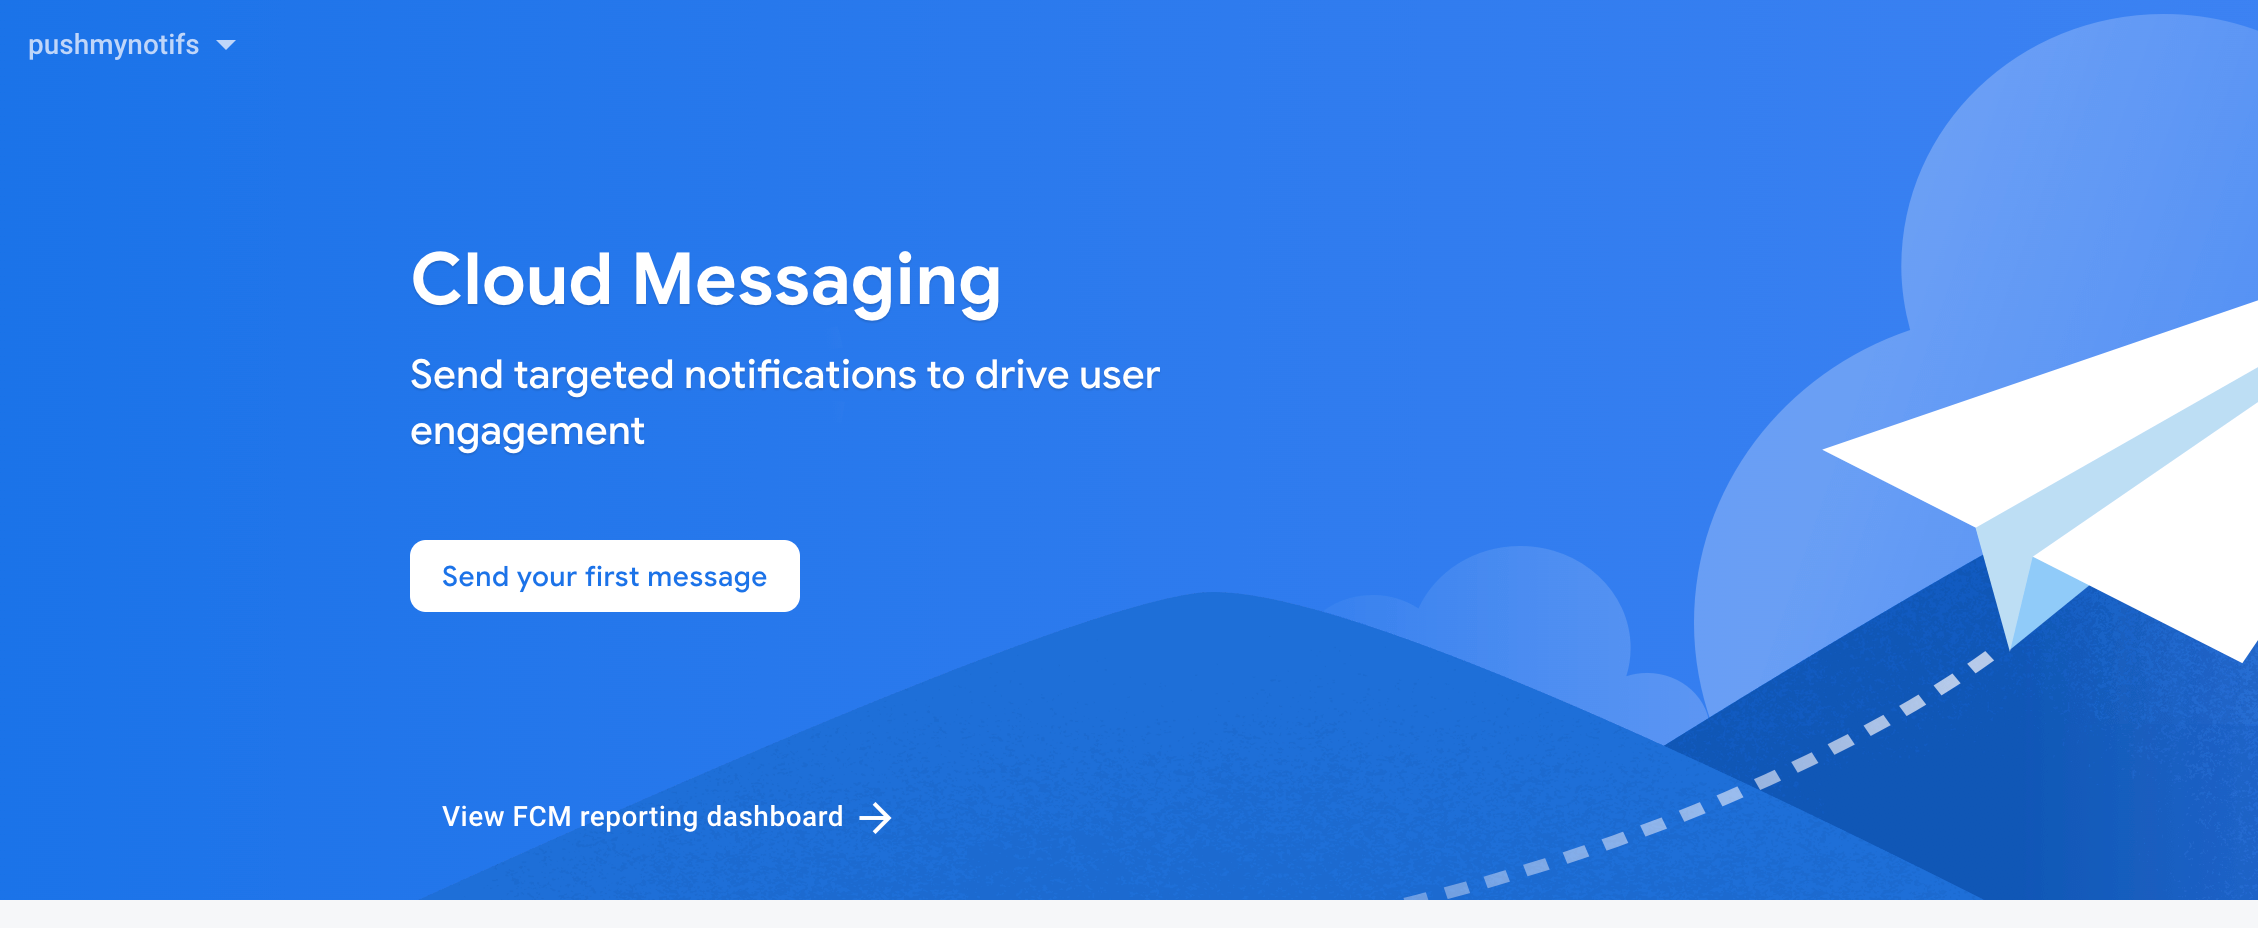
5. Send a test notification
- Run the app on a device and check for the FCM token in the method posted above. Copy the token.
- Open the firebase cloud messaging console


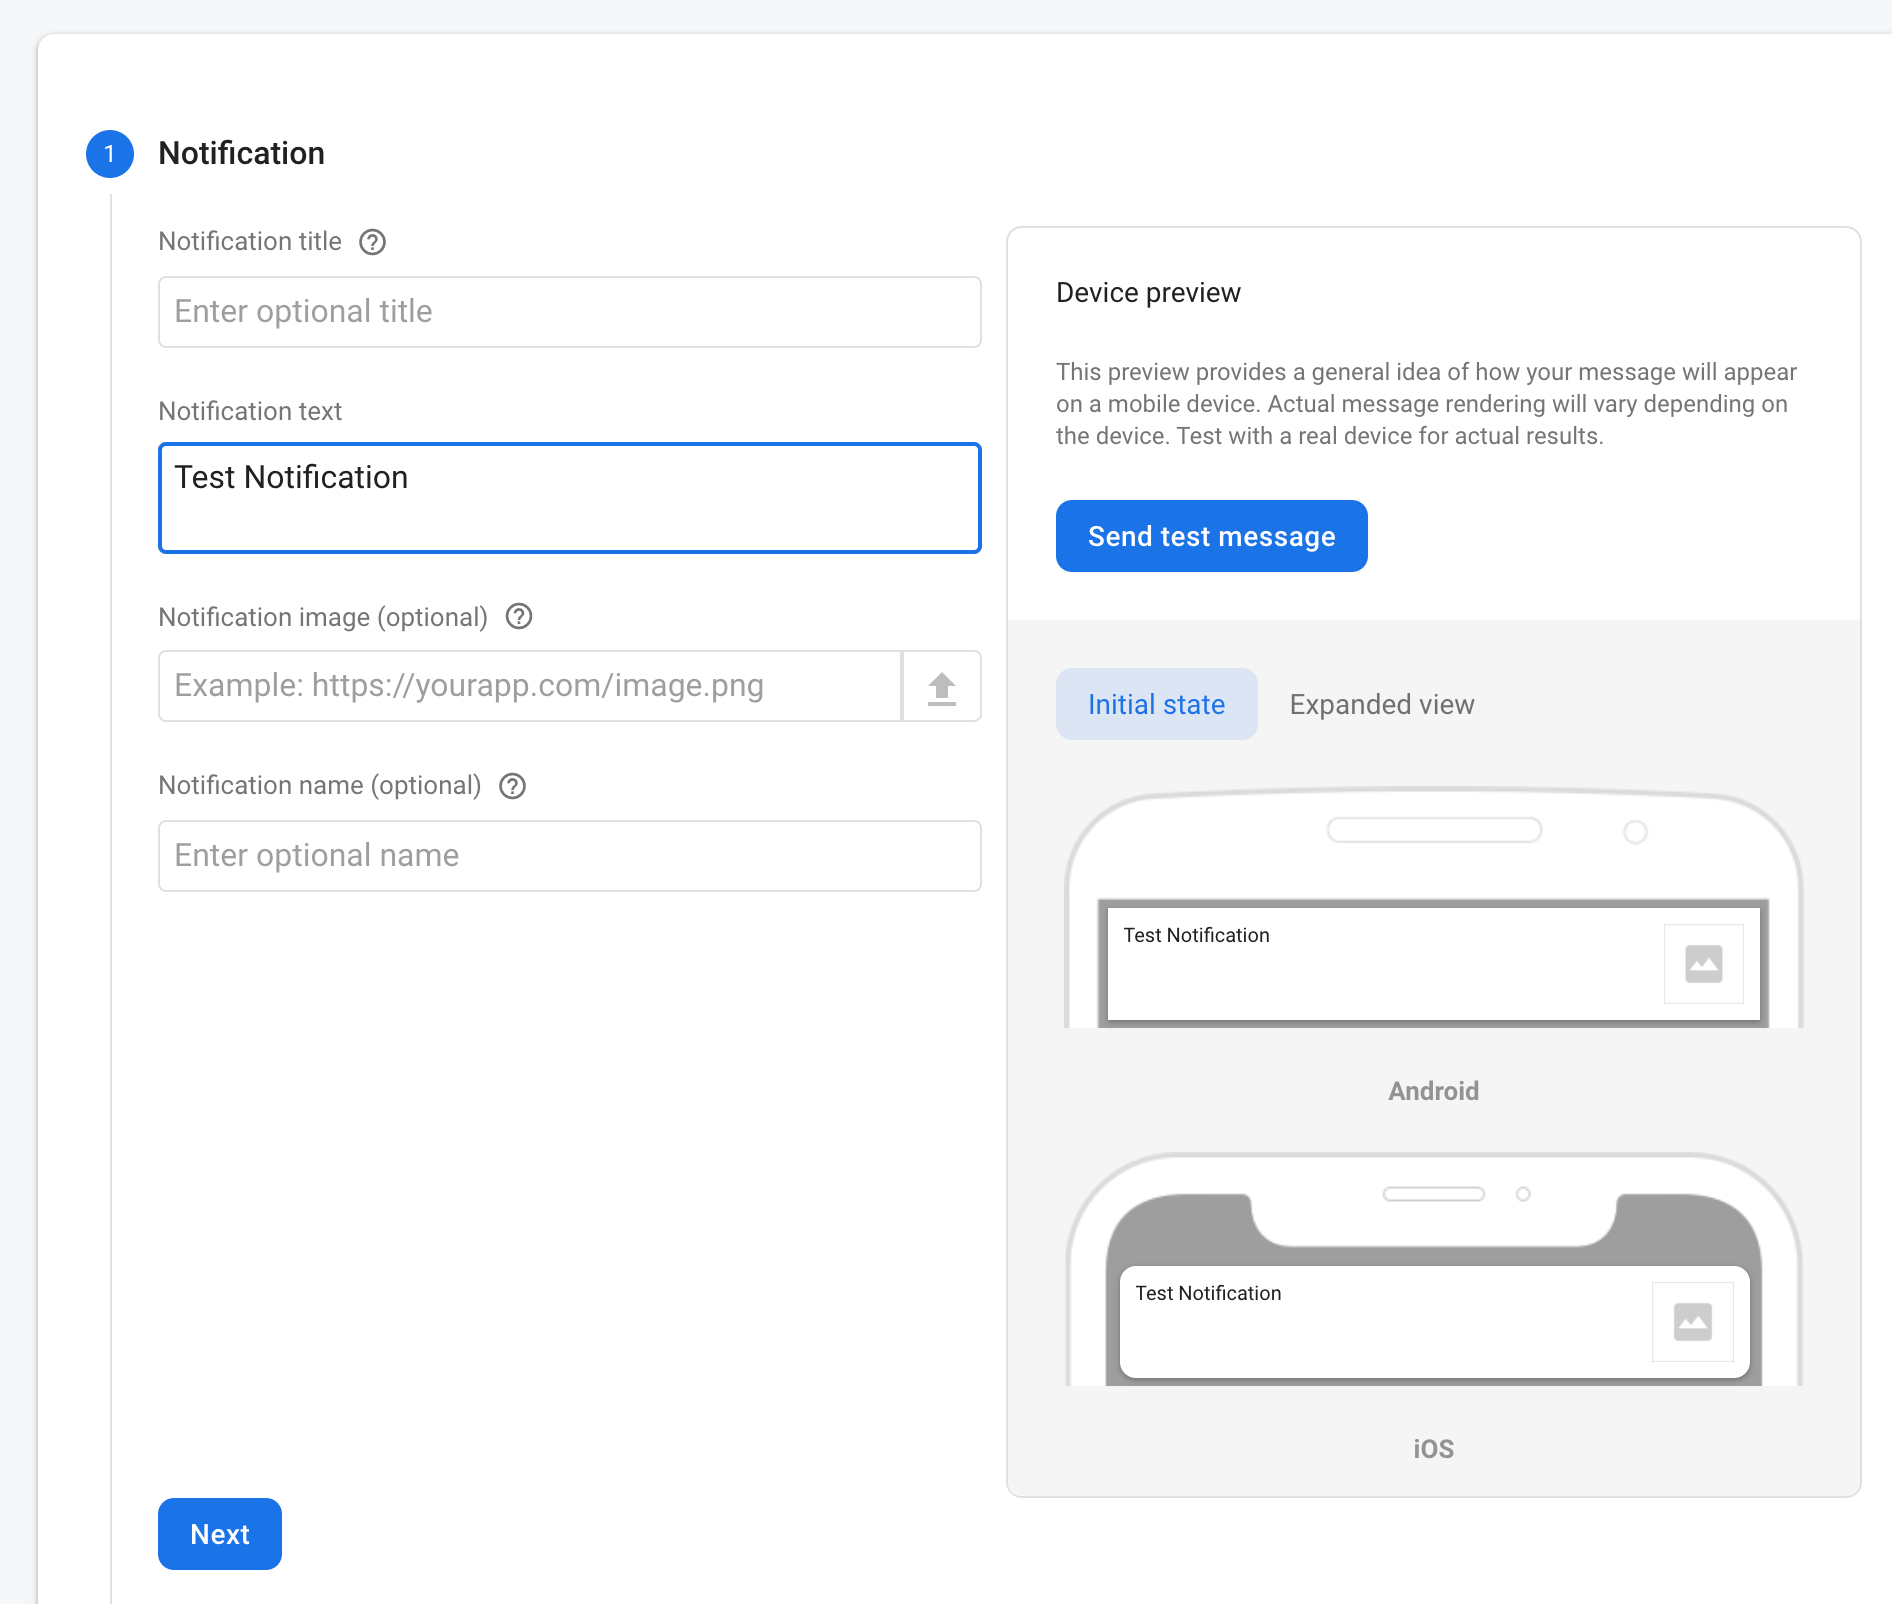
Click on Send test message which open a window as shown below where you will enter the token copied in above step.

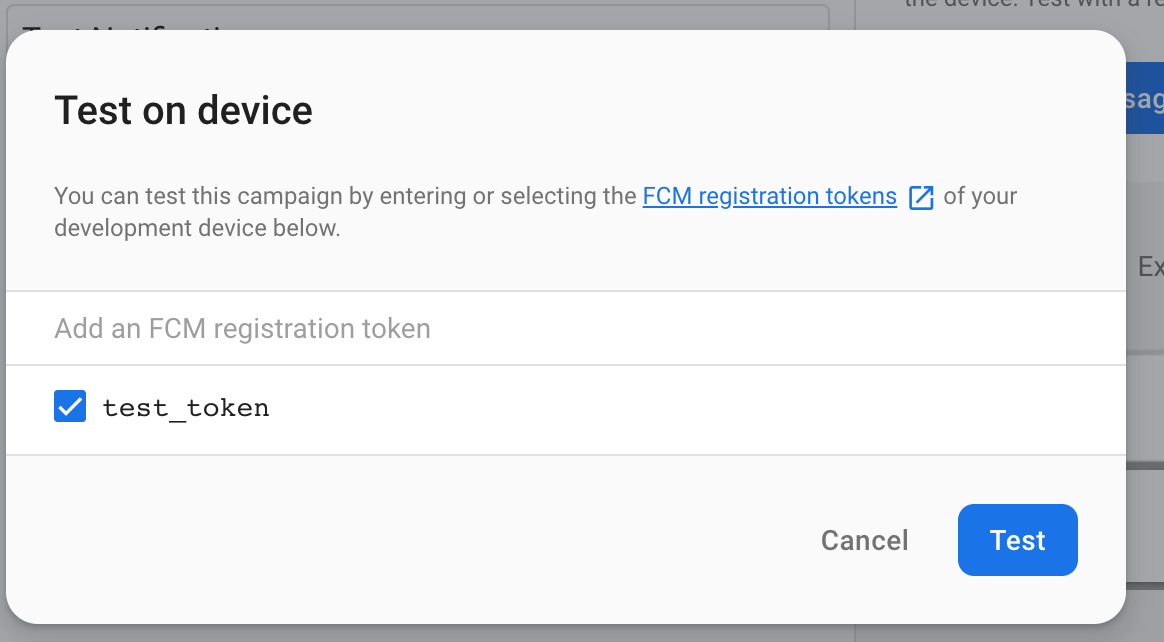
Click on Test and your device will receive the notification.


